A Warmaster/Battle of Five Armies Battle
The Master of Bows peered towards the western sky, watching the light fade behind the last foothill across the river. Clouds had been approaching from the north all day, a dark pall, low and thick, rolling over the mountain peaks in a way that made his neck prickle. Even the youngest of the men had noticed, and muttered about what it meant. But the archer knew. And the Warden of the Wild Reaches knew as well, setting the men and elves on the wall in full array, and the small cavalry detachment to saddling up in the courtyard below. But mysterious as the powers of their wizard commander were, the sign the Master of Bows set most store by had come when he found the garrison’s weapon’s master sharpening his axe in the armory.
“So, there’s to be a battle, then?” the bowman had asked his taciturn dwarven friend.
“Aye,” was the only answer, and it hadn’t been needed.
“Don’t look down upon our relief, woodland brother,” the bowman laughed, clapping his fair comrade on the shoulder.
“How can I help but do so,” replied the elf, “if only because of their height?” But he smiled when he said it, for he, too, shared the gladness to see a sign of strength approaching.
***
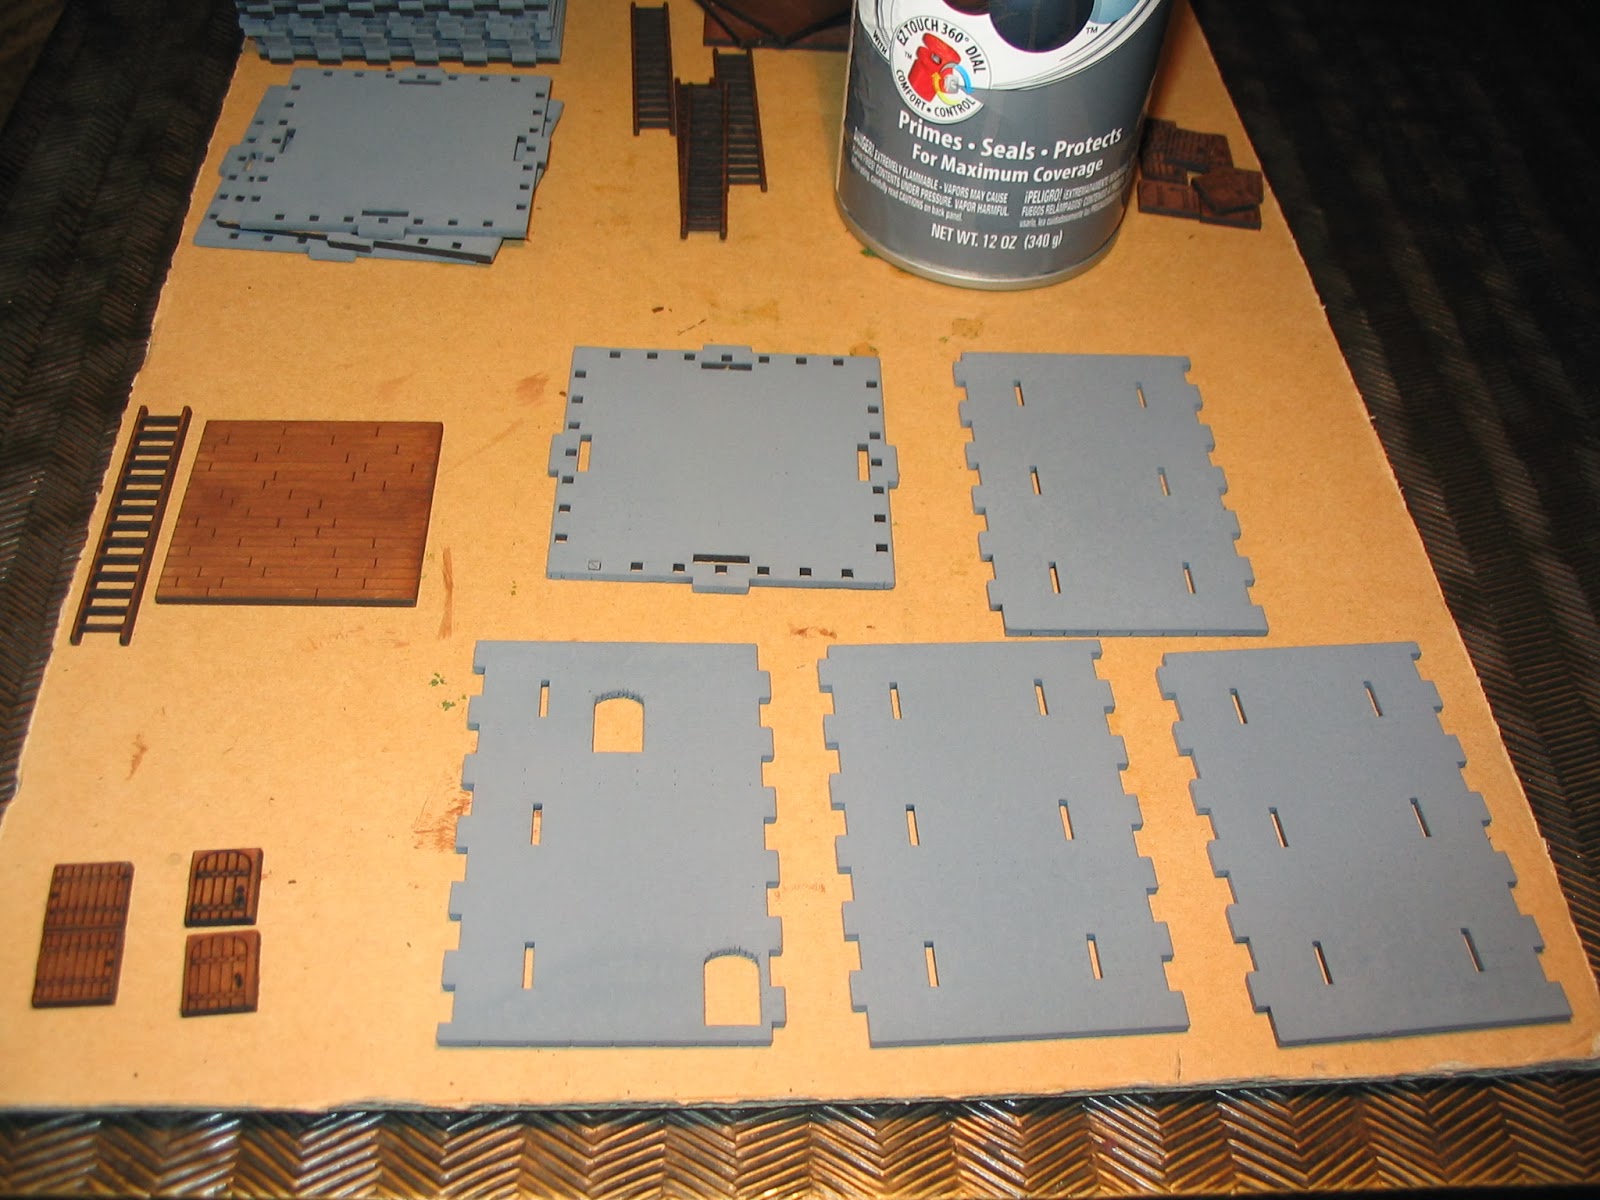
Yesterday I trotted out some of my 10mm fantasy collection and set up a little battle scenario. As I had yet to test out my fortress from Sally 4th (read about it here), I opted for a castle assault scenario, but to make it more than just a static pounding, I added the element of a relief force marching to supplement an under-manned garrison. As I also wanted to field my growing cavalry force, this gave an ideal setting for the two.
A few special rules which might or might not be reflected in either rule book (but probably should be):
Archer units located in a fortress tower (but not a wall) can see and shoot in any direction. All stands are considered able to see and shoot, regardless of the unit’s physical orientation in the tower. Nor does anything at ground level (or any other level) block line of sight except for elements of the fortress itself (you can’t shoot through another tower, or at enemies obscured by the walls). So this means that a three-stand unit of elf archers will always roll three dice when shooting at a target in LOS of the tower. Range is unaffected, and is measure horizontally, not vertically.
Although wolf riders are technically shooting units, they can’t effectively attack units fortified behind castle walls (or in towers, of course). This reflects these units’ nature as skirmishing harassment troops. Cavalry also cannot charge units on fortress walls. (I’m pretty certain that’s in the Warmaster rules anyway, but if not, well, it is on my tabletop!)
The fortress has one small sally port located on the south edge of the westernmost tower. Friendly units may enter or exit from this sally port, provided no enemy units are assaulting the southwestern wall or the tower at that time (that is, engaged in combat with the wall’s defenders). As per standard rules, friendly units may enter or exit the main gate without penalty (but must accept an order to do so). Again, if the gate wall is under assault, the gate cannot be opened for either exit or entry (doing so would be immediately treated as a breach).
Any undefended wall can be immediately scaled by the enemy (note that the initial garrison is unable to man all of the walls and the towers as well). However, undefended towers are still unassailable (the scaling ladders aren’t long enough).
In this scenario, I decided that the hill slopes are “difficult” terrain— not dense or steep enough to offer defended status, and still passable to cavalry, but causing any troop upon them to move at half-pace. This is a bit of departure from the standard rules (and was probably a mistake on my part, but I wanted something to slow the initial onslaught of the goblin horde).
Troops on the top level of the hill can reach the lower levels by descending the two sloping passages sculpted into the hills.
The Master of Bows has the same shooting bonus ability as Bard from Bo5A. The dwarven Weapons Master is a dwarf hero (+2 attack bonus), as is the dwarf captain in the relief column.
All others as per Bo5A rules, except the Orc Trebuchet, which uses the Warmaster Orc Rock Lobber stats.
I didn’t bother to calculate points, as I had no idea how to cost out the fortress itself (which, by the way, really made a big difference). But for comparison, the Goblin Horde had 113 units, including characters, and the Army of the Wild Reaches had only 55 units total— which I suspect on the points match up is grossly in favor of the goblins!
Elf Spearmen (2 units)
Elf Archers (2 units)
Men Spearmen (1 unit)
Men Archers (2 units)
Horse Tribe Cavalry (1 unit): Attack 3 Hits 3 Armor 5+
Horse Tribes Archer Cavalry (1 unit): Attack 2/1, Hits 3, Armor 0. Can shoot 360°, 15cm
Heroes:
Master of Bows (Bard stats)
Dwarf Weapons Master (dwarf hero)
The Warden of the Wild Reaches (wizard general)
The Relief Column
Elf Spearmen (2 units)
Elf Archers (2 units)
Dwarf warriors (2 units)
Horse Tribe Cavalry (1 unit) “The Riders of the Westfold” (Red cloaks)
Horse Tribe Royal Cavalry (1 unit): Attacks 4 Hits 3 Armor 5+
Heroes:
The Lord of the Woodland Realm (Elf hero)
The Dwarf Captain (Dwarf hero)
All infantry from GW's Battle of Five Armies boxed sets.
Cavalry from Copplestone Casting's Horse Tribe line.
Goblins (16 units)
Wolf Riders (16 units)
Wargs (16 units)
Goblin Guard (1 unit)
Hill Trolls (1 unit)
Gigantic Bats (1 unit, flying monster)
Storm Giant (1 unit, monster)
Rock Lobber (1 unit, artillery)
Heroes:
The Goblin King (general)
Orc Chieftain (4)
Goblin Shaman (1)
For the record, the Horde forces consisted of two entire goblin armies (with wargs and riders) from two Battle of Five Armies sets, plus a unit of GW Bo5A Goblin Guard, a GW WM giant, a unit of GW Bo5A Hill Trolls, a Rock Lobber (Kallistra Orc Trebuchet) and a unit of Gigantic Bats (Splintered Light’s “Bat Swarm”).
The Relief Column set up west of the river, on the southern edge of the map (for game purposes, “North” is at the top of the wide photos, along a long edge of the battlefield).
To make things move quicker, the column deployed into two temporary brigades— the elves all in one and the cavalry and dwarves in the other.
The Goblin Horde then set up on the northern edge of the battlefield. The evil cavalry and six infantry had to deploy west of the river. North of the river, the forces had to deploy either on the hill or immediately abutting the edge of the table.
Scenario Design
I conceived of this scenario as having two parts— the attempt by the relief column to reach the garrison, and the subsequent assault. It did play out that way, but not entirely as I expected (or planned).
one is that the goblin infantry really have little or chance of taking the walls. They never even managed to inflict a single hit.
The Goblin King (okay, me) erred in not sending the giant against the gate, and in pulling back the Hill Trolls. Both could have either taken a wall or (in the case of the giant) breached the gate early on. By the time the trebuchet was in range of the fortress, there was no time left in the battle (I always use the eight turn limit, and holding the garrison meant victory for the good guys, regardless of anything else.) Losing the bats early hurt, too.
On the other hand, the Warden (also me) nearly blew it by mucking around across the ford. The elves could inflict damage, yes, but there was no way they could stand against the wargs and goblin cavalry. Staying there was death— the elves should have crossed the ford and blocked it up rather than forming long lines that could be assaulted en masse. Also, not simply rushing the relief column into the garrison was another mistake— if the relief column had made it safely inside, the wargs and warg riders would have been able do nothing to anyone in the fortress! So fighting them in the open was silly, and almost cost the Warden the battle. (I had only been casually keeping track of casualties, and then I tallied up what was going on and realized the garrison was but a handful of stands from the breaking point! Yikes!)
But all in all, as a solo game this turned out to be quite satisfying. I look forward to trying a scenario like this one again, maybe against an opponent more worthy than myself!
--- Howard
“So, there’s to be a battle, then?” the bowman had asked his taciturn dwarven friend.
“Aye,” was the only answer, and it hadn’t been needed.
The sound of a horn, high and sharp cracked through the cold air, and hope sprang in the archer’s heart.
“Our brethren approach,” said his elven lieutenant, pointing south of the river’s ford, “and with them I see horsemen, bearing the banner of the royal house— and there are more of Durin’s folk as well, alas.”“Don’t look down upon our relief, woodland brother,” the bowman laughed, clapping his fair comrade on the shoulder.
“How can I help but do so,” replied the elf, “if only because of their height?” But he smiled when he said it, for he, too, shared the gladness to see a sign of strength approaching.
But then another horn broke through the darkening day, and it was harsh and rough and cold, like the crackle of dry bones, and behind it came the howls of wolves, a din beyond counting.
“See now why the stars hide,” whispered the elf, and the Master of Bows stared northward in horror. The mountain slopes boiled with misshapen creatures and glittered with equally mis-made spearpoints, while down in the western valley wolves raced forward, all too many also bearing as riders the same creatures as the mountainsides.
“Our brethren...” breathed the elf.
“Had best not tarry,” finished the archer, “for I fear there is little we can do to help them.” And perhaps not even ourselves, he did not say aloud.The Rules and Special Rules
Rules are the Battle of Five Armies (Warmaster) rules from Games Workshop (OOP, sadly). The castle assault rules are from the Warmaster rule book, but otherwise I stuck with the army lists, magic rules, and wording from the Bo5A rules, as these reflect corrections and additions to the core set.Troops on the top level of the hill can reach the lower levels by descending the two sloping passages sculpted into the hills.
The Forces
The Warden of the Wild Reaches is a wizard equipped with a Staff of Power (and, apparently, a pet bird and halfling manservant).Good Guys
The Garrison of the Wild ReachesElf Spearmen (2 units)
Elf Archers (2 units)
Men Spearmen (1 unit)
Men Archers (2 units)
Horse Tribe Cavalry (1 unit): Attack 3 Hits 3 Armor 5+
Horse Tribes Archer Cavalry (1 unit): Attack 2/1, Hits 3, Armor 0. Can shoot 360°, 15cm
Master of Bows (Bard stats)
Dwarf Weapons Master (dwarf hero)
The Warden of the Wild Reaches (wizard general)
Elf Spearmen (2 units)
Elf Archers (2 units)
Dwarf warriors (2 units)
Horse Tribe Cavalry (1 unit) “The Riders of the Westfold” (Red cloaks)
Horse Tribe Royal Cavalry (1 unit): Attacks 4 Hits 3 Armor 5+
The Lord of the Woodland Realm (Elf hero)
The Dwarf Captain (Dwarf hero)
All infantry from GW's Battle of Five Armies boxed sets.
Cavalry from Copplestone Casting's Horse Tribe line.
Bad Guys
The Goblin HordeGoblins (16 units)
Wolf Riders (16 units)
Wargs (16 units)
Goblin Guard (1 unit)
Hill Trolls (1 unit)
Gigantic Bats (1 unit, flying monster)
Storm Giant (1 unit, monster)
Rock Lobber (1 unit, artillery)
The Goblin King (general)
Orc Chieftain (4)
Goblin Shaman (1)
For the record, the Horde forces consisted of two entire goblin armies (with wargs and riders) from two Battle of Five Armies sets, plus a unit of GW Bo5A Goblin Guard, a GW WM giant, a unit of GW Bo5A Hill Trolls, a Rock Lobber (Kallistra Orc Trebuchet) and a unit of Gigantic Bats (Splintered Light’s “Bat Swarm”).
The Set Up
Defender sets up first. The Garrison deployed in the fort, with the spearmen on the walls and the archers in the towers. The southernmost wall was left unmanned, as the threat was to the north, and assuming a detachment from the relief column reached the fort, manning it would not be an issue, In a pinch, however, a tower could be abandoned to protect the wall.To make things move quicker, the column deployed into two temporary brigades— the elves all in one and the cavalry and dwarves in the other.
I conceived of this scenario as having two parts— the attempt by the relief column to reach the garrison, and the subsequent assault. It did play out that way, but not entirely as I expected (or planned).
 |
| The Goblin Horde appears to the north— can the tiny garrison of the Wild Reaches survive? |
And Now, The Battle!
The First Hour— The Race for the Ford
 |
The dwarves and the riders of the Mark claim the Ford, but the elves tarry.
The Warden sends out the garrison cavalry to aid the relief column.
|
 |
| The Warden casts a spell, and throws the evil bats into disarray. |
 |
| The Horde advances on the fort, but fails to press the column. |
 |
| The forlorn hope— the goblins try to take the eastern wall! |
 |
| The elves hold— the goblins are repulsed! |
The Second Hour— Barbs, Blunders, Bats and Blood
 |
| The relief column advances, and connects with the garrison cavalry, but fails to reach the fortress; the elves prepare to receive the charge of the vile wargs. |
 |
| The elven archers and the bowmen unleash their barbed shafts, decimating the goblin forlorn hope... |
 |
| Oops— "someone" has blundered. |
 |
| Missed 'em by that much— the wargs' impetuous charge fails! (Oh, I supposed I could have fudged in the dogs' favor. But this was funnier.) |
 |
The bats bite while the Giant and the Goblin Guard batter the relief column.
On the right, the hill trolls withdraw from the archers in the towers.
|
 |
The orc trebuchet (upper left center, by the river) and goblin arrows drive
the men of the Westfold and the elves from the ford in confusion (center).
The bats and dwarves fall back, but the Royal Guard of the Mark is lost!
Meanwhile, the giant slaughters the horse archers of the garrison.
The heavy cavalry takes casualties, but rebuffs the Goblin Guard.
(Cavalry retreats 1cm, but infantry cannot pursue, and loses a stand as well.)
|
The Third Hour— Monster Bashing, and an Orc Too Far
 |
| More death from above for the goblin forlorn hope. |
 |
| The elves attack the wargs, the dwarves strike the center— and the giant is confused (well, more than usual) by a hail of arrows from the tower! |
 |
| Dwarves On a Roll, or Bye-Bye, Bat-birds! |
 |
| The Horde Recoils (for now...)
On the left, the elves drive back the wargs and the warg riders with heavy losses.
In the center, the bats, the Goblin Guard and goblin infantry are destroyed.
The giant is forced to retreat in front of the garrison gate, and remains confused.
The garrison cavalry tries for the infantry near the Goblin King in hopes of an
early victory, but falls back when the goblins hold (combat draw— lucky devils!)
|
 |
| The Hour of the Wolves
The wargs and warg riders charge the elves, the goblins charge in the center,
and the Goblin King wisely retreats onto the mountain slopes.
|
 |
| The forlorn hope hopes forlornly. (Not a chance, bub.) |
The Last Stand of the Elves
 |
| The charge of the wargs. |
 |
| The elves are overwhelmed. |
 |
| The ford falls. |
 |
| The End of the Third Hour
The ford is lost, the center is scattered, and there's a giant at the gates— time
to attack, obviously! (Oh, and the forlorn hope is down to one stand...)
|
The Fourth Hour— Bold Action
+T4W.JPG) |
| When hard pressed— attack!
The Riders of the Westfold take a chance and charge the giant, and the dwarves
charge the goblins, aided by the garrison cavalry.
(The other dwarves were confused by the trebuchet on the previous turn.)
|
 |
| The Giant Falls!
The spearmen of the garrison sally to aid the cavalry of the Westfold
(and the dwarf captain lends his skill). Driven back against the tower,
the giant dies.
The spearmen withdraw back to the garrison, but the riders press on...
|
 |
| And utterly destroy the hill trolls! (And the lone orc chieftain with nowhere to run...) |
 |
| Meanwhile, the dwarves and cavalry slay the goblin front. |
 |
| ... and the cavalry charges into the reserves, threatening the Goblin King again! |
 |
| The Goblin King survives, and the garrison cavalry falls back. On the far right,
the goblin forlorn hope assault has been driven back yet again.
|
... and the Goblin King responds.
 |
| The Wargs Cross the River
The dwarves are in danger, and the goblin center charges the garrison cavalry,
aided by chieftain.
A lone warg tries for the central dwarves, but the orders fail. The Goblin King
scurries to the center left.
Oh, and the forlorn hope (unseen) tries for the wall. Again. (Guess who dies?)
|
The Fifth Hour— The Center Cannot Hold
 |
With the dwarf left lost, the dwarf center falls back south to protect its flank
from the approaching wargs and warg riders. To the north, the combined
cavalry charges the remaining goblin center.
The warden sends archers to the southern tower, but fails to man the
southwestern wall.
|
 |
| The skirmish is won...
The lone wargs in the center are shot down by the Master of Bows and elves.
To the north, the riders destroy the goblins and fall back towards the garrison.
|
 |
| But the Horde is undaunted...
The wargs charge, eliminate garrison cavalry, but trade one for one with the
men of the Westfold.
The next wave of the Horde advances in the center and the left, reaching the ford.
Warg riders approach the dwarves in center south, but fail the order to charge.
The Warden surveys his losses, and realizes his army is hanging on by a thread—
a two unit thread! (26 units lost towards a breaking point of 28 units.)
|
The Sixth Hour— Back to the Garrison!
 |
| Give them a volley!
The archers in the western and southern towers turn the warg riders into
porcupines, driving them back to the ford. The archers in the north tower drive
the lone wargs back.
With the way cleared, the dwarves and the Westfold cavalry advance to the
safety of the garrison— the relief column (or what's left of it) has finally
arrived... just in time to fully man the walls!
|
 |
| Now useless, the horde cavalry moves out of the way as the infantry closes for the grand assault. |
The Seventh Hour— The Last Sortie
 |
| The Final Sally
The Warden takes a risk, seeing an opportunity to perhaps crack the Horde's resolve.
He orders the dwarves to sortie from the gate, striking the goblin assault before it
can reach the wall...
|
 |
The dwarves hew their enemies down, advance, pursue and hew again!
But the Weapons Master fears to press further...
|
 |
... and pulls his dwarves back to the garrison, sealing the gates a final time.
This battle will be won or lost on the walls.
|
Approaching the walls...
 |
| Having watched the deadliness of the archers, the Goblin King orders the warg riders to screen the assault force from the towers. |
The Final Hour— The Grand Assault!
 |
The Warden is content to man his walls and wait—
But first the archers send the warg riders into confusion.
|
 |
| The great assault begins.
The goblins pour across the ford, raising ladders against the gate wall and
the western wall— will they overwhelm the men and elves?
|
 |
| Hail the Valar— the assault is repulsed! |
 |
| The Goblin King is seized with dismay— his army is broken! (61 units lost, with a breaking point of 57) |
 |
| The clouds break, and the horde flees in panic. |
 |
| The Garrison Triumphant! |
Closing Thoughts
This battle turned out to be a lot of fun. I think a few things became clear to me—one is that the goblin infantry really have little or chance of taking the walls. They never even managed to inflict a single hit.
The Goblin King (okay, me) erred in not sending the giant against the gate, and in pulling back the Hill Trolls. Both could have either taken a wall or (in the case of the giant) breached the gate early on. By the time the trebuchet was in range of the fortress, there was no time left in the battle (I always use the eight turn limit, and holding the garrison meant victory for the good guys, regardless of anything else.) Losing the bats early hurt, too.
On the other hand, the Warden (also me) nearly blew it by mucking around across the ford. The elves could inflict damage, yes, but there was no way they could stand against the wargs and goblin cavalry. Staying there was death— the elves should have crossed the ford and blocked it up rather than forming long lines that could be assaulted en masse. Also, not simply rushing the relief column into the garrison was another mistake— if the relief column had made it safely inside, the wargs and warg riders would have been able do nothing to anyone in the fortress! So fighting them in the open was silly, and almost cost the Warden the battle. (I had only been casually keeping track of casualties, and then I tallied up what was going on and realized the garrison was but a handful of stands from the breaking point! Yikes!)
But all in all, as a solo game this turned out to be quite satisfying. I look forward to trying a scenario like this one again, maybe against an opponent more worthy than myself!
--- Howard